Make your Own Wind Turbine
Primary | Environment | Views: 5113
*DISCLAIMER* We had trouble getting our wind turbine to blow in the wind! Can you do better?
Health and Safety: There are points in this project where you will need to use sharp objects to cut or put holes in plastic. Please ensure you have adult help with this and that you are careful!
You will Need:
- 2 drinks bottles, one filled with water
- Scissors
- Screwdriver (or something to carefully
- poke a hole in a cap)
- Pencil
- Strong glue
- Something round and hollow that you
- can stick a pencil in
What to Do:
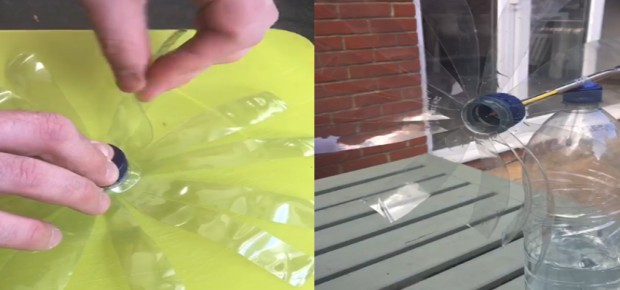
- Cut a plastic drink bottle at the bottom of the neck of the bottle.
- With a scissors, cut the neck of the bottle into evenly-sized strips.
- Push the neck of the bottle down and pull the strips outwards so that they stick out from the cap at a right angle.
- Twist each strip so that the surface of each fan blade is facing sideways.
- Remove the bottle cap and create a hole in the middle, then stick a pencil through. You can secure this with glue for strength.
- Screw the cap back on to the bottle neck, with most of the pencil sticking outwards.
- Find an object that can fit a pencil inside snugly.
- Stick this object to the lid of a bottle full of water.
- Connect both parts of your wind turbine together by sliding the pencil inside. Place some glue/tape/blutac on the end of the pencil to prevent it from sliding out.
- Place your wind turbine in an open place outdoors and watch it work!
« Back